Rustic Christmas Coffee Sign & Stenciled Decor
Christmas,
Collections,
Farmhouse Style,
Holiday Decorating,
Old Sign Stencils,
Signs,
Stenciling,
Vintage,
October 25, 2018
Do you remember my coffeepots on stakes?
In that blog post from 2016, I also debuted my Old Sign Stencils' National Brewers Coffee Sign on barn wood.
Today I revamped the sign. Take a look!
(When you click on the bold Amazon, Old Sign Stencils or Dixie Belle Paint Company affiliate links you will be taken to the products I use for this project. If you order it does not change the price or service at all. As an Amazon Affiliate, Old Sign Stencils Affiliate or Dixie Belle Paint Affiliate, I earn from qualifying purchases.)
First I painted the sign with DecoArt Chalky Finish Paint in Rouge . I didn't cover the wood completely. I did sort of a dry brush on it, so some of the gray wood color would show through in spots.
I pulled out the same *coffee stencil from Old Sign Stencils and taped it in place over the old stenciling. Since I did more of a dry brushing, the old stenciling was still visible.
I pounced on the stencil with Fusion Mineral Paint in Champlain , (an off white.) I also stenciled on the Seattle, WA on this version.
I also had this *Hot Cocoa stencil from Old Sign Stencils in my stencil inventory.
I added just the words Christmas Blend at the top of the sign. (When I use parts of different stencils, I always measure well to make sure the graphics and lettering are balanced.)
I didn't seal the sign. The Fusion Mineral Paint should be fine without it.
The hardest part of this revamp was stenciling in a gouged part of the wood at the top.
To finish out the sign, three squarish style nails were added to the bottom.
Now, for a little more stenciling.
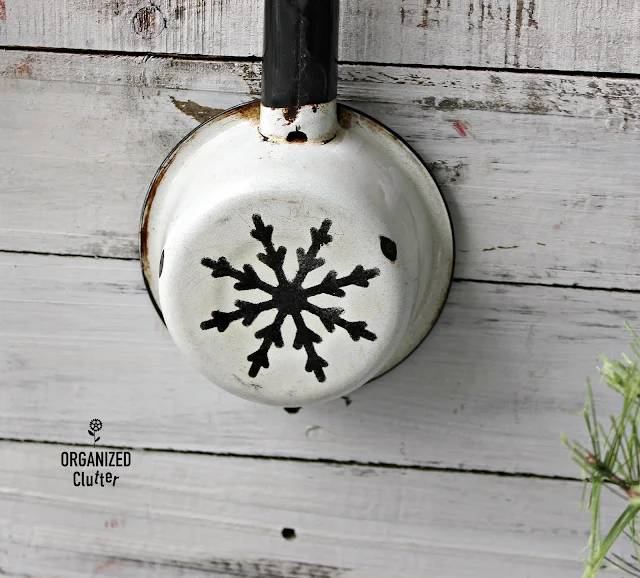
I purchased this little enamelware saucepan at the thrift shop for $1.
I am going to stencil on it with Ceramcoat Select Multi-Surface Paint in Black .
.
The *Old Sign Stencils Winter Graphics is another stencil in my stash.
I am going to add the medium sized snowflake to the bottom of the sauce pan.
Stenciling on glass or metal is a little trickier than wood. You want to make sure your brush has been off loaded or pounced on paper and swirled on paper, before you stencil. I use a paper plate.
I usually add one light coat, and then add a second coat. This is the snowflake after one coat.
I wasn't able to tape the stencil down on the sauce pan, so I used every available finger I had to hold down the stencil.
If you mess up really bad, the paint will wash right off while it is wet. Very small under stencil bleeds can be sanded gently with a corner of folded 220 grit sandpaper.
Here is the snowflake after two coats of stenciling.
The last stencil I pulled out was my *Old Sign Stencils Christmas Graphics.
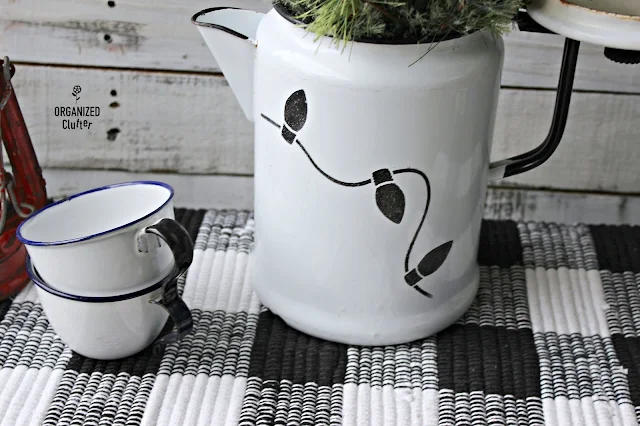
I decided to add the string of lights to an enamelware coffeepot.
I just used a portion of the stencil. I was able to tape the stencil down with blue painter's tape, but because of the curved sides of the coffeepot, I used fingers to hold the stencil down tight at times.
The stencil turned out pretty well!
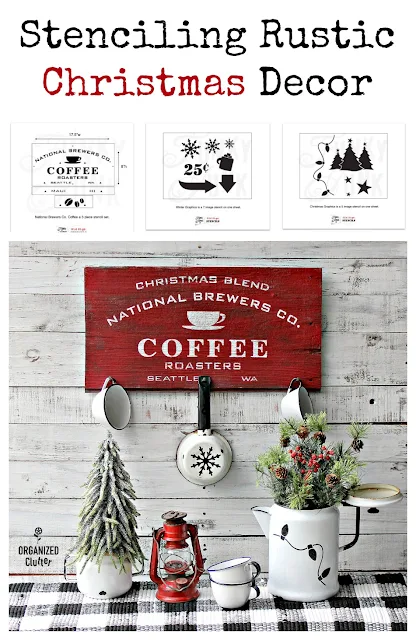
So now to put my newly stenciled items all together for some photos.
Since I'm partial to red, I really only had red and white enamelware on hand, but this fall, I have acquired several pieces of black and white. I love it.
I just love rustic Christmas decor!
I am totally ADDICTED to stenciling!
Stenciling adds an element of fun to your decor. AND you can use your stencils over and over again in different ways.
Old Sign Stencils provided me with complimentary samples.
All opinions about these fabulous products are my own.
Have you stenciled any Christmas decor?

Sharing is caring


This whole vignette is so cute, Carlene! Great look for Christmas!
ReplyDeleteSo stinkin' cute!!!
ReplyDelete