An Up-cycled Garage Sale Barn Quilt
January 02, 2019
I purchased this plywood barn quilt last summer at a garage sale for $5. The first day of the garage sale, I walked past it several times, but ultimately decided it just was not my colors.
It was painted in a turquoise, an olive green, an orange, and a very pale green. It was also finished with a high gloss poly, and had a damaged corner, probably from blowing off the nail outside.
I have admired barn quilts on Pinterest, considered making one, but never did. Day two at the garage sale, the barn quilt was still there, and I bought it.
Now to make it over in my colors!
(When you click on the bold Amazon, Old Sign Stencils or Dixie Belle Paint Company affiliate links you will be taken to the products I use for this project. If you order it does not change the price or service at all. As an Amazon Affiliate, Old Sign Stencils Affiliate or Dixie Belle Paint Affiliate, I earn from qualifying purchases.)
I am such a lazy crafter/do it yourselfer!
I could have purchased a sheet of plywood, created or copied a quilt pattern, and painted it on. But, that sounded like a lot of work. I will just tape around this pattern and change the colors.
I used the blue painter's tape that I had on hand to tape off the orange arrow patterns.
I used one of my favorite reds, DecoArt Chalky Finish Paint in Rouge . Easy, right?
Wrong! I did not have crisp lines at all. Now what?
I conferred with one of my blog friends, Susan from the Homeroad blog who suggested I try FrogTape Multi-Surface Painting Tape .
.
So it was back to the drawing board with the Frog tape.
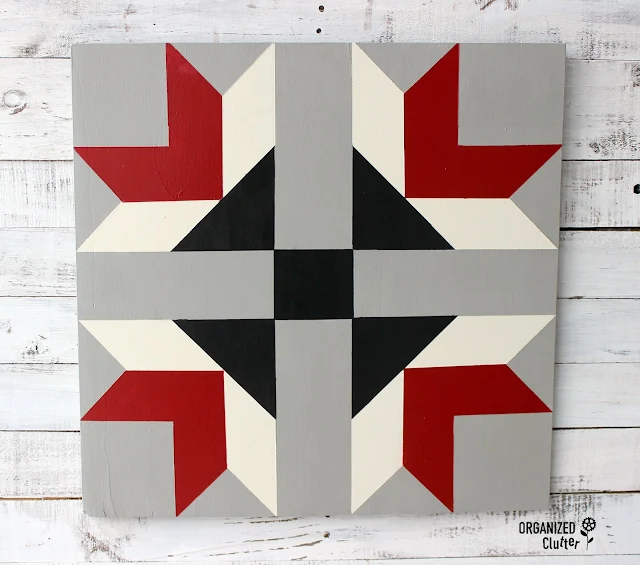
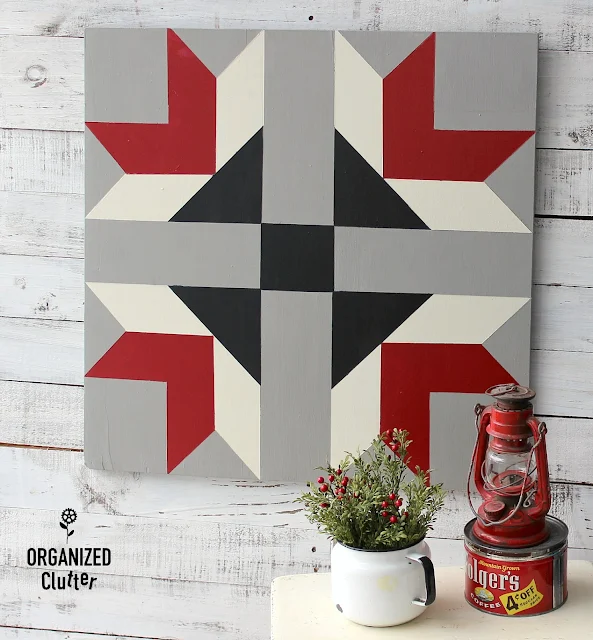
The colors I chose for my barn quilt are the Decoart Chalky Finish Paint in Rouge, Rust-Oleum Chalked Paint in Country Gray , Dixie Belle Chalk Finish Paint in CAVIAR
 , and Dixie Belle Paint in Drop Cloth.
I used a Zibra trim paint brush to paint my barn quilt. Zibra brushes are my new "go to" brushes! I find the finish to be almost brush stroke free!
The frog tape made the job pretty easy, but there were a few minor spots here and there that I touched up, or spot sanded with 220 grit sandpaper folded into fourths.
I use the folded corner to remove very small stencil bleed through too.
I brushed on Rust-Oleum Water-Based Polyurethane in Satin Finish to seal the paints.
The water based poly also brings out a deeper, richer paint color, without yellowing.
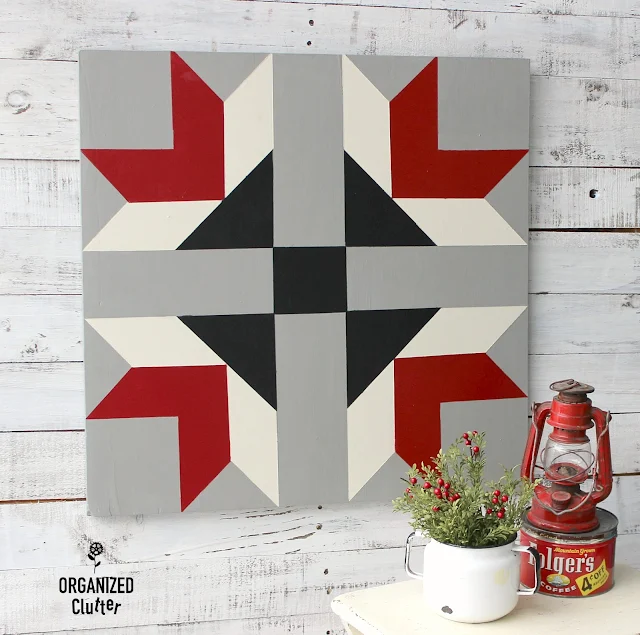
I love the neutrals with a just a pop of red!
I may hang my barn quilt indoors. It's not that big, 24" x 24".
Or maybe I will hang it on my covered patio.
If I hang it out in the elements, it will need to be coated with more coats of poly or maybe even urethane.
My very first project of 2019, an easy barn quilt!

Sharing is caring


I love this project! Being from the Pennsylvania Dutch area, quilts are very popular here. My Grandmother and Mother-In-Law were quilters, and I have some of their quilts, one of which is on our bed now. No machine quilting for either of them, all hand quilted. Seeing this makes me to want to run out to buy all the materials needed to make one for myself. Thank you for the inspiration!
ReplyDeleteYou did a great job, Carlene! Your colors are SO much better than the originals. How fun, too, that you found the original at a garage sale for cheap. Altho', as you said, one wouldn' t be hard to make. Hope all your 2019 projects go as smoothly as this one!
ReplyDeleteCarlene,
ReplyDeleteI love this barn quilt. I would love to have one on my deck. I am going to try to paint it. Thanks so much for sharing.