Pie Tin Repurposed As Fall Pumpkin Decor
August 30, 2021
This pie tin was on clearance at the antique shop last week and I got it for half price or $3.
I transformed it into a fall decor piece.
(When you click on the bold Amazon, Old Sign Stencils or Dixie Belle Paint Company affiliate links you will be taken to the products I used for this project. If you order it does not change the price or service at all. As an Amazon Affiliate, Old Sign Stencils Affiliate or Dixie Belle Paint Affiliate, I earn from qualifying purchases.)
I wanted to paint the pie tin orange with spray paint but our local Menard's was out of most orange spray paint, except super glossy or neon orange.
I brushed on some of my remaining Decoart Chalky Finish Paint in Heritage. Luckily, the color is still available in 8 ounce bottles since I love the color for pumpkins.
The pie tin after three coats and a light sanding to level some brush strokes.
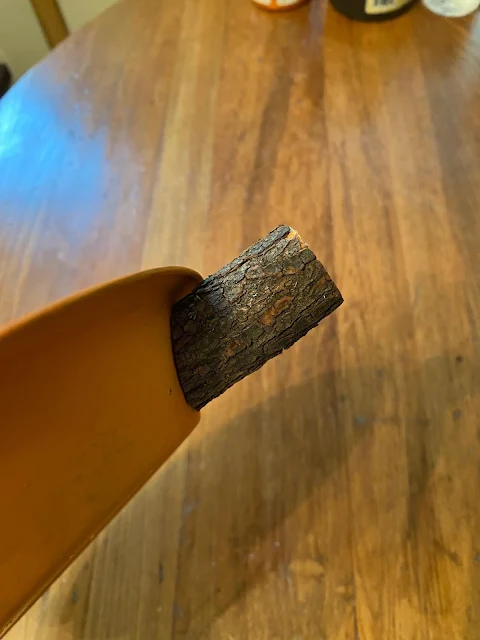
Next another of my tree branch "stems" was cut on the diagonal to fit the pie plate back angle.
The "stem" was screwed onto the pie tin.
I distressed the edges of the pie tin with sandpaper, but didn't like the shiny metal showing through the paint.
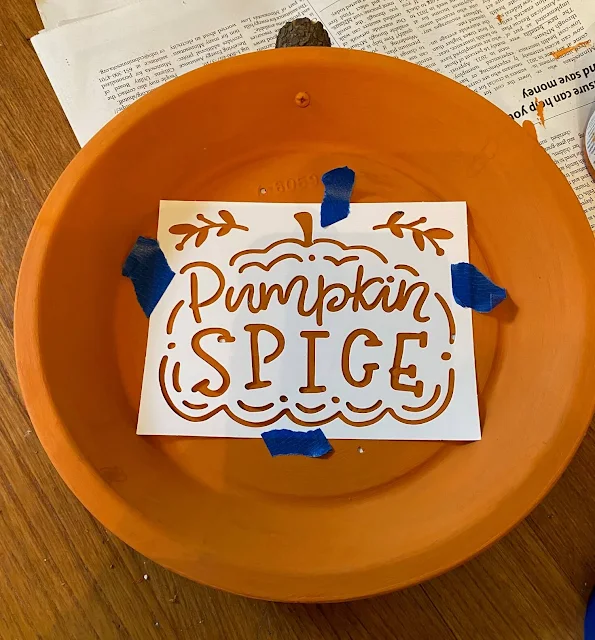
Last year I found a package of Tulip Colorshot fall fabric stencils at Joann Fabrics. They are small paper stencils that Tulip suggests work with spray paint on clothing. I don't know if they are available in the stores this year or not.
I taped the stencil onto the pie plate bottom with blue painter's tape, and pounced on the stencil with Fusion Mineral Paint in Raw Silk.
I touched up the shiny metal distressed edges of my pie plate with more orange paint, and pulled out my FolkArt Layering Block to add faux distressing.
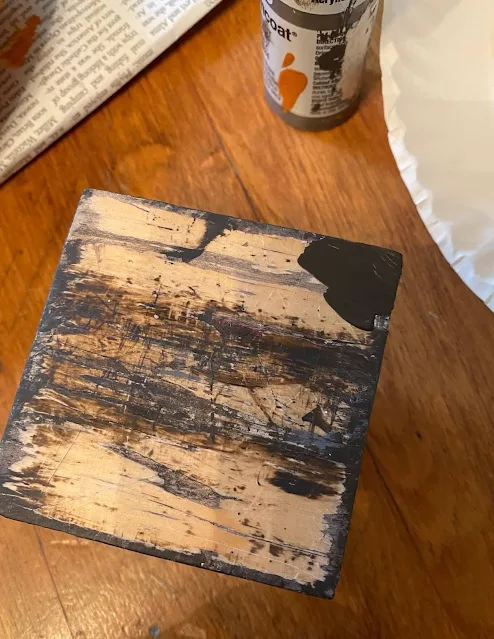
I squirted a small amount of Ceramcoat Walnut Noyer Craft Paint on a paper plate.
I brushed a small amount of paint on one corner of the layering block with a small sponge brush.
Then, I simply rubbed the layering block corner along parts of the edge of the pie tin.
Until I got the hang of the layering block, I often had to touch up the faux distressing with a small brush and a bit more of the base color paint.
Lastly, I waxed the pie plate with Dixie Belle Best Dang Wax in Clear and tied a bit of raffia on the "stem".
Here is my finished pumpkin!
Have you repurposed an unusual items as a pumpkins?
Thanks for visiting!

Sharing is caring


super cute, love the color and stenciling!
ReplyDeleteThanks so much Debra!
DeleteSo cute! Love your ideas.
ReplyDeleteThank you!
Delete