Bead Board Cabinet Door Rustic Botanical Wall Decor
July 21, 2022
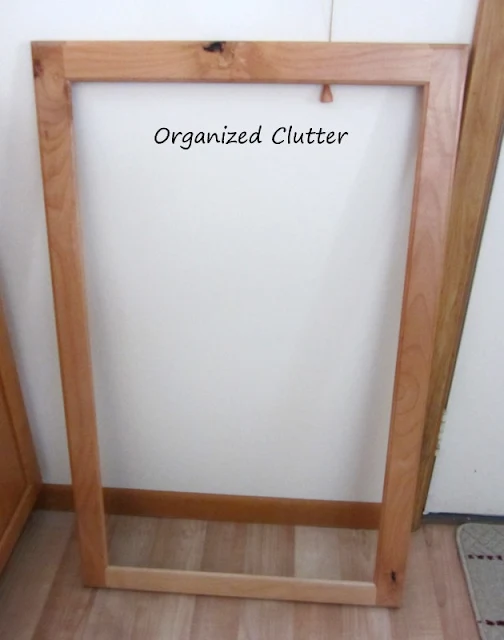
Way back in 2014, I found this old cabinet door frame and turned it into fun covered patio wall art.
Recently, I gave the cabinet door a new look! Read on below.
(When you click on the bold Amazon, Old Sign Stencils or Dixie Belle Paint Company affiliate links you will be taken to the products I used for this project. If you order it does not change the price or service at all. As an Amazon Affiliate, Old Sign Stencils Affiliate or Dixie Belle Paint Affiliate, I earn from qualifying purchases.)
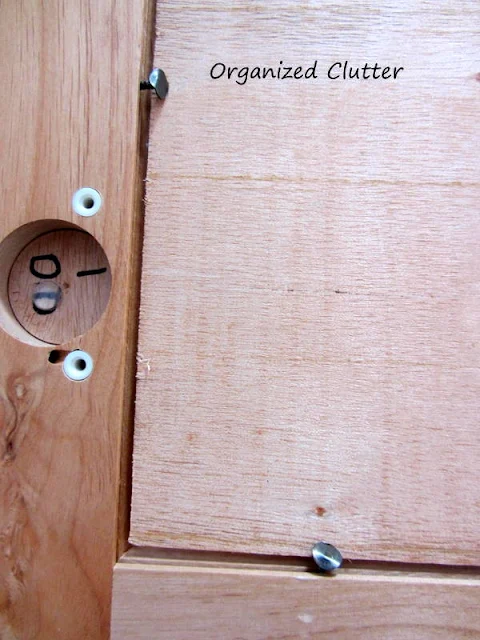
In the original project, a piece of unfinished wainscot paneling (bead board) was cut to fit the cabinet door frame.
Carpet tacks were pounded in from the back to hold the paneling piece in place.
Then the entire piece was painted with a coat of black satin Rustoleum Satin Enamel Paint. Next, I brushed on a couple of coats of Annie Sloan Chalk Paint in Old White. "Old White" used to be my favorite chalk paint.
I also pulled out some rusty old hardware to add to my cabinet door.
I distressed the door edges and along the bead board lines with sandpaper, and then waxed the entire door. The hardware was added with screws.
I hung a galvanized letter "B" (from Hobby Lobby) on the cabinet door, and hung it next to the door on my covered patio. This was a popular project on my blog.
After using the cabinet door on the patio for several years, it was put in the garage or shed and not used again. This year I decided to give it an update.
Since I had used Annie Sloan Wax on the door, I sanded the piece with sandpaper to remove most of it. I then brushed on a couple coats of Dixie Belle Chalk Paint in Drop Cloth. Drop cloth is my new go to white.
The transfer fit my door pretty well. I had to cut the bottom paragraph off the transfer.
I taped the top piece onto the cabinet door with blue painters tape.
I then played around with the other two pieces getting them centered and lined up.
Then I lifted the top transfer piece up to pull off the paper backing WITHOUT removing the tape. The tape keeps the piece centered. I laid the sticky transfer back down on the cabinet door.
I rubbed the top part of the transfer onto my cabinet door using the rectangular tool in the package. I pushed the transfer into the grooves of the bead board.
I then, carefully, started lifting the clear top sheet little by little. If the transfer is not sticking down and still attached to the clear sheet, just lay it back down and rub some more with the stick.
I added the middle and bottom sections of the transfer using the same method. Parts of the transfer's sides had to be rubbed onto the door frame.
At this point, my door frame can be waxed with Dixie Belle Clear wax, sealed with clear coat, or sealed with a sealer like Rustoleum Clear Spray.
I haven't sealed the cabinet door yet. I may opt for the spray sealer.
Here is the cabinet door wall art on the covered patio.
I have been thinking about hanging it on a wall inside the house this time! I just hung it here to show you the finished project.
Thanks for visiting.

Sharing is caring


.jpg)
.jpg)
.jpg)
.jpg)
Very cool!
ReplyDelete