Mini Christmas Tree Pot With Frog Tape Shapes
November 08, 2022
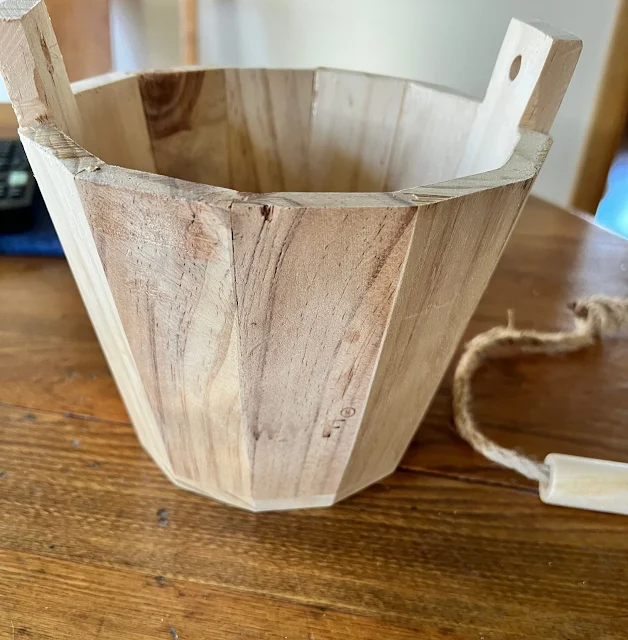
I found this 12 sided wooden bucket at the thrift store a while back. It has a jute handle.
Scroll on to see how I transformed this find into a cute Christmas decoration, and take in another great edition of projects from the Thrift Store Decor Team too!
(When you click on the bold Amazon, Old Sign Stencils or Dixie Belle Paint Company affiliate links you will be taken to the products I used for this project. If you order it does not change the price or service at all. As an Amazon Affiliate, Old Sign Stencils Affiliate or Dixie Belle Paint Affiliate, I earn from qualifying purchases.)
I removed the jute handle, and wiped off the bucket with hot soapy Dawn Dish Soap water and a rag.
Next I sanded off the logo or decoration on each side of the bucket, that were brown and slightly indented.
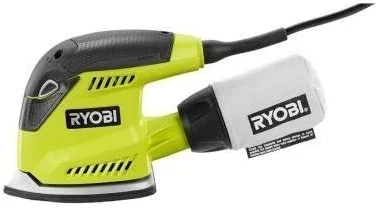
I used my Ryobi Corner Cat Sander for the job.
Next I pulled out my Christmas Sweater Stencil from Old Sign Stencils.
I have also used this great stencil on an old chair HERE, and an old ironing board HERE. Another awesome Christmas pattern stencil is the Snowflake Christmas Sweater stencil, also from Old Sign Stencils.
*Old Sign Stencils has provided me with complimentary samples. All opinions about these fabulous stencils are my own.
Instead of stenciling right on the bucket, I traced one of the stencil's trees onto a roll of Frog Tape.
I have had great results with Frog Tape with painting stripes on furniture. Much better luck than with plain blue painter's tape.
I cut the traced trees out with a scissors (I needed 12), and lined them up around the bottom of the bucket. I was sure to rub the tape down well.
I then painted the bucket's exterior, right over the Frog Tape, with Dixie Belle Chalk Paint in Caviar.
When the paint was dry, I peeled off the Frog Tape trees around the bottom.
They came out really well, and I had only one small drop of paint that got under the tape. I folded a piece of 220 grit sandpaper twice and sanded it off with the corner of the sandpaper.
I then waxed the bucket inside and out with Dixie Belle's Big Mamas Butta.
The wax darkened the chalk paint and the bare wood as well.
I tied the jute string back onto the bucket's top.
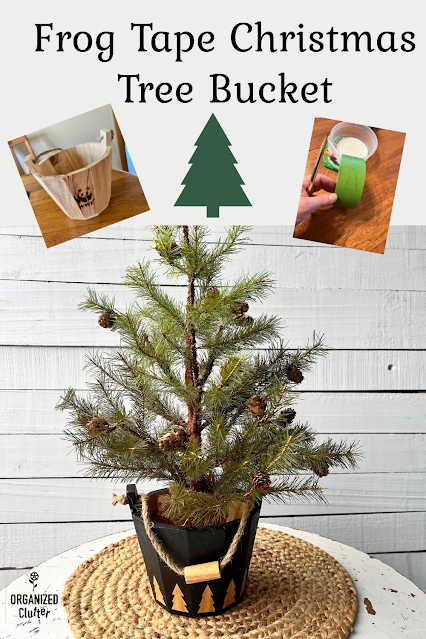
I think the bucket is just perfect with a small faux Christmas Tree inside.
And, the bucket would work at a lake cabin or cabin in the woods all year round!
Pin for later!
The stenciled frog tape method would work with other easy stencil patterns as well!
Now, scroll on down to see my blogging friends' project links below! It looks like a great month for upcycling!
Personalized wood sled My Uncommon Slice of Suburbia
Vintage Wooden Bowl Christmas Candle Centerpiece House of Hawthornes
Updated Key Holder Domestically Speaking
Snow Scene Displays In Glass Containers Petticoat Junktion
Indian Corn Decorations for Thanksgiving Sadie Seasongoods
Frog Tape Wooden Mini Tree Pot Organized Clutter
DIY White Christmas Village Our Southern Home
Easy Thrift Store Tray Makeover My Repurposed Life
Fun Fall Resin Projects Shop At Blu

Sharing is caring


.jpg)
.jpg)
.jpg)
.jpg)


I love how this turned out, very modern and perfect for your little tree!
ReplyDeleteNow I want to sell our house and buy a cabin in the woods to recreate this exact look. I absolutely love the cabin feel. Looking around for a bucket to do this with!!
ReplyDeleteThis is absolutely adorable! The black was a perfect choice. This would totally work beyond the holidays.
ReplyDeleteI love it! Great idea!! - Briana from Texas
ReplyDeleteThis looks so rich, Carlene. That was a clever way to get the trees on the bucket. And the color is terrific. Thanks.
ReplyDeleteI love the contrast with the wood and black paint - stunning!!!
ReplyDelete