Vintage Metal Lunchbox Planter
April 10, 2024
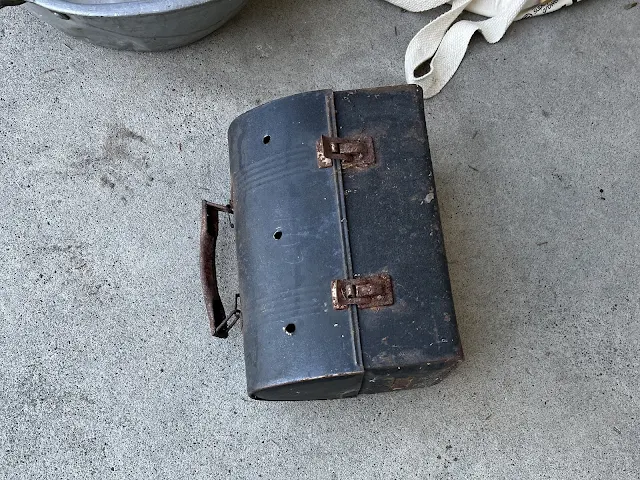
About 10 years ago, I found this old black metal lunchbox at a garage sale. My grandpa carried one of these to his job at the paper mill. My dad worked there also but his lunchbox was hard plastic.
I found this old lunchbox in my shed the other day and got an idea for a makeover.
Scroll on down to see it's new upcycle along with my Thrift Store Decor Team's April projects too!
(When you click on the bold Amazon, Old Sign Stencils or Dixie Belle Paint Company affiliate links you will be taken to the products I use for this project. If you order it does not change the price or service at all. As an Amazon Affiliate, Old Sign Stencils Affiliate or Dixie Belle Paint Affiliate, I earn from qualifying purchases.)
The old lunchbox was displayed on my stepladder shelf in an open position and planted with Gold Dust Mecardonia. This is a blog photo from 2012.
It appeared one more time on my blog in the same year after the plants had filled out. Holes were drilled in the bottom of the lunchbox for drainage.
After this season, I think the lunchbox was put away in the shed and not used in the garden again.
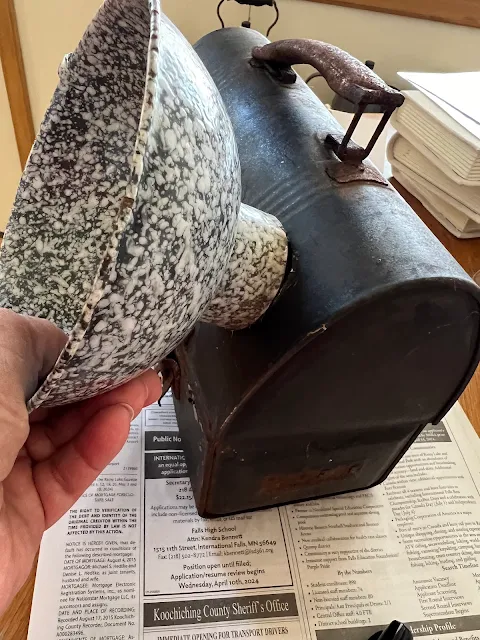
My new planter idea for the lunchbox started out with three drilled holes in the front domed top.
I don't have any large spade bits so I traced the round bottom of this enamelware funnel onto the lunchbox with a pencil. The funnel hole measured two inches across. (A one and an 1/8th" spade bit would have made this easier even though a tin snips would still be needed to make the holes a full two inches across.)
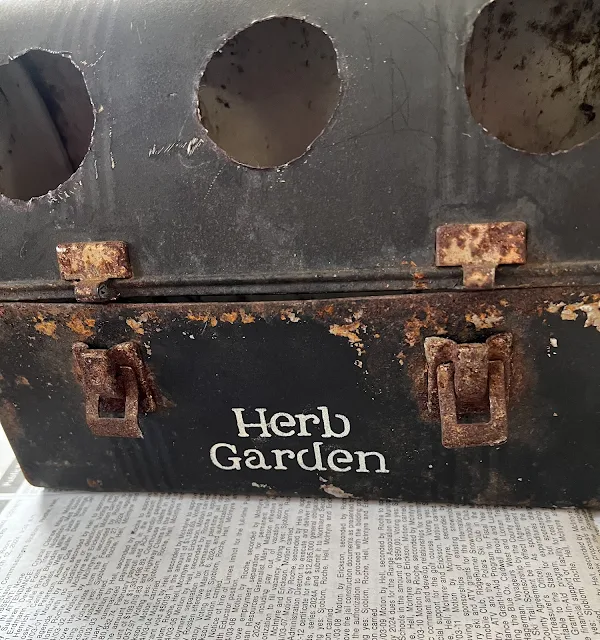
Here is the lunchbox after the two inch holes were cut with a tin snips. A flat file removed a few of the really sharp edges. I used a black Sharpie to touch up the silver edge a bit.
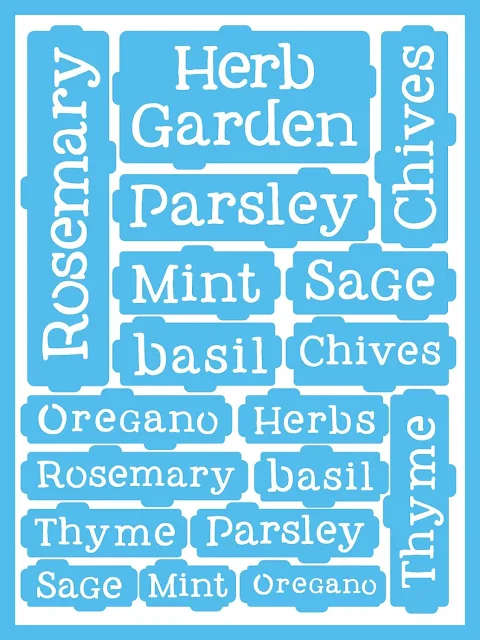
I decided to add a Decorart adhesive stencil to the lunchbox planter using antique ivory acrylic craft paint. I have had this stencil for several years.
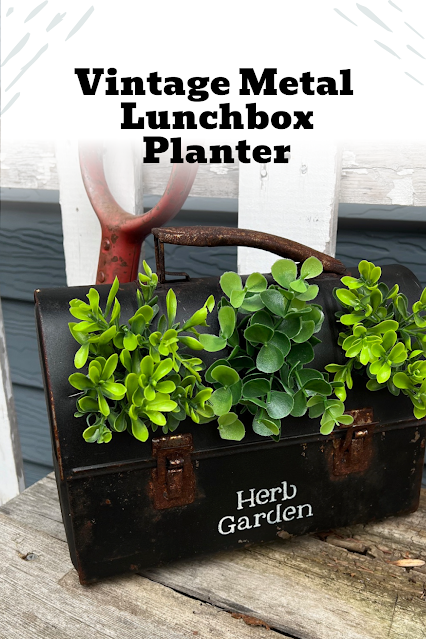
Here is my lunchbox with the stencil.
I then sprayed the lunchbox with two coats of Painters Touch Clear Matte Spray.
It really darkened the black paint and gave the piece much better patina.
Since I live in Minnesota, I couldn't plant real herbs in the planter yet, so I staged it with faux plants (from Dollar General).
When I do plant the lunchbox, I will add potting soil to the bottom of the lunchbox, close and latch the lunchbox, and add more soil through the holes to fill up the dome.
Then the plants will be placed in the three holes. I will lay the planter on it's side to water the holes.
I hope to find dwarf or miniature herb plants, and I will likely keep them trimmed and tidy, so the cute lunchbox planter is visible.
That's one of the reasons I disliked the open lunchbox planter with the Gold Dust Mercardonia from 2012, they covered the lunchbox!
Now it's time for the Thrift Store Decor Team's April Party! Click on the links below to see these dated finds receive a makeover:
Sadie Seasongoods - Fondue Forks as Plant Labels or Herb Markers
Our Southern Home - Restoring an Outdoor Lantern
Shop at Blu - Upcycled MCM China Cabinet
My Uncommon Slice of Suburbia - Succulent Letter Planter Arrangement
My Repurposed Life - Thrift Store Lamp Refresh With Paint and Rub-on Transfer
Domestically Speaking - Candle for Mothers Day
Petticoat Junktion - Spray Paint Faux Succulents
I hope you checked out all the projects! Thanks for visiting!

Sharing is caring

.jpg)



.jpg)
.jpg)
.jpg)
.jpg)
.jpg)
.jpg)

This turned out so cute, great reuse of the lunch box!
ReplyDeleteSuch a great Spring project!
ReplyDeleteThis is such a fun idea for our summer porch. I love that you can use either real or faux. Smart to do the holes in the top to sill maintain the look of a lunch box. Got to love Dollar General. I have one less than 8 minutes form us.
ReplyDeleteSo clever! Love the cut outs for the plants!
ReplyDelete